Sunday, January 31, 2016

Foiling: My New Obsession

Once again I am late jumping on the latest trend - foiling.. which has been big for over a year now, thanks to the Minc foiling machine by Heidi Swapp. This time, I have a good reason for being late trying this technique - I don't have a laser printer, which is needed for this method. But I finally tried it out, since I had all the rest of the supplies. Rather than the Minc, I used my old Scotch laminator, and it did the job just fine. Funny thing is, the laminator was a Valentine's day gift from DH several years ago, and I have used very little of it as a laminator. But something tells me it's going to get quite a work out now.
If I hadn't had a laminator already, I probably would have gotten the Minc - it's a great machine and will get you consistent results.


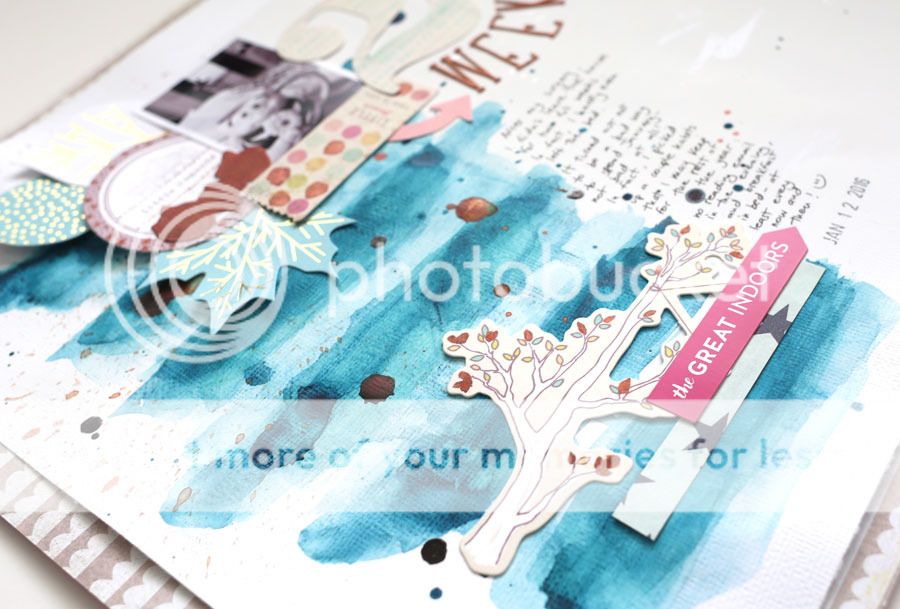
In my first attempt, I printed out 4 pages of letter sized paper using digital designs, mostly from Studio Calico. Here is the one that had me giddy with delight as I peeled off the foil - I seriously couldn't believe how amazing it turned out! I wasn't sure how it would turn out with such a large amount of foiling... but I was impressed!


The birthday card is a printable from Studio Calico. I used the Minc gold foil for this one. And the design was printed on cheap, lightweight copy paper, but the foiling turned out great! So my next step is to buy a laser printer, so that I can print at home on thicker paper. Think of all the possibilities!


And as a bonus, you can use the negative part too! That will make another nice card!
So my verdict is: thumbs of for foiling! Seriously, so many possibilities! The only problem is that these foiled pieces are tricky to photograph.. they look so much better in person!

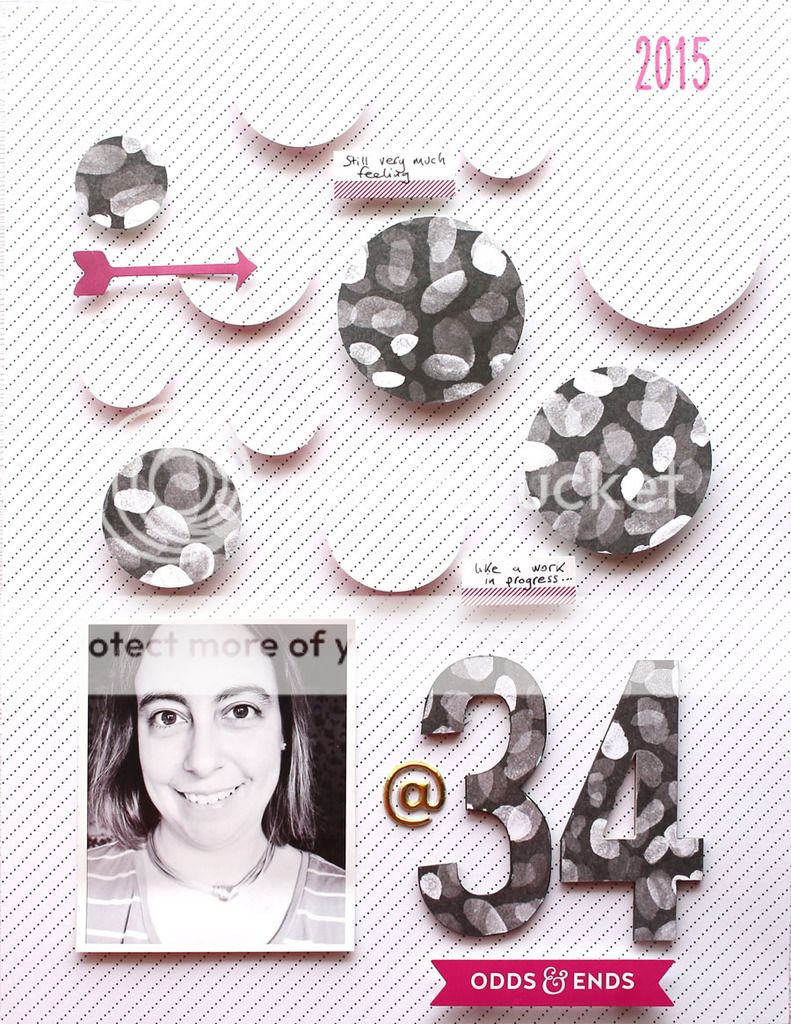
Oh and one last thing - today is the last day to grab this fabulous digital card design from Studio Calico, so don't miss out - it's a good one!

This post contains some affiliate links. If you click on any of these affiliate links and make a purchase, then I happily receive a small commission. Thank you for your support! I purchased all the products you see used, and am happy to share what I made with them here.

Saturday, January 30, 2016

Surgery

While recuperating from a small surgery I had a couple of weeks ago, and catching up on my Project Life (2015 is in the books, yay!!) I am also trying to kill my Canyonlands scrapbook kit from Studio Calico (it was the November '15 kit). So I put some of it to good use to document my surgery.


This page started with the Mega Date Stamp and with two small photos of me from the hospital, one from before and one from after the surgery. Then, I added the title (those gold letters from the Redstone embellishment kit are the best!!). Next, I used the roller stamp from the Arendal Project Life kit to stamp "BEFORE" and "AFTER" as mats for my photos. I added a couple embellishments (the rubber banners are from the Canyonlands scrapbook kit while the rubber "the story of today" was from Ali Edwards's 2015 December Daily kit, and the rest of the embellishments are from her Firsts Story Kit).


Then I added journaling all around. So my first (and hopefully last!!) surgery is all documented.
Have a lovely weekend!

Friday, January 29, 2016

Hello Friday

Hello and happy Friday! I have a bunch of fun, colorful pages to share today, made with the new releases from The Lilypad (20% off through the weekend)!


Credits:
All of Me Loves Dressed Down Templates by Fiddle-Dee-Dee Designs
Glitz Girl kit and Glitz journal cards by Lynn Grieveson Designs


It's also the day of the release of the Memory Pockets Monthly collection, which is absolutely fantastic this month!


Credits:

I had to cut of my poor husband's head in this photo because there was a lamp right behind him that looked like it was on his head - ugh! I hate when that happens, and of course I didn't catch it at the time I took the photo.

Finally, I made a hybrid page using the MPM add ons by Sahlin Studio.


Credits:

Totes Adorbs and Totes Adorbs journal cards by Sahlin Studio


Not your typical snow colors... but I love how it turned out!


Have a wonderful end of the week!

ETA: and I scrapped one more over the weekend!


Credits:
Drama Queen Adore by Valorie Wibbens
Adorable: So Transparent by Allison Pennington

Thursday, January 28, 2016

Art 2 Heart Update

I realized that after my first enthusiastic post, I haven't blogged anymore about my experience with Wilna Furstenberg's year-long Art 2 Heart workshop. But my enthusiasm hasn't waned in the least! So it's time to show a couple more pages I've made since.

The first two are directly lifted from Wilna's pages from October. This first one is definitely one of the favorite pages I've ever made.


The printables also come with the workshop.


Apart from the visual aspect of the class (lots of eye candy!), my favorite thing about this workshop is that it makes me reflect upon the small and big things in my life. Maybe saying it's life-changing is a bit much, but it's certainly inspired me to give deeper thought to some things that I'd otherwise not have thought about. Every single month.


This page was also a really fun one to make. Wilna gave us the printout of her floral+writing combination, and I traced it with watercolors.


I have slowed down a bit in creating, and made only one page inspired by the November workshop:


This page has been a work in progress for a long time. I painted the background back in November, but then it just sat there, waiting for a good theme for the page.


I used some copper mist from Studio Calico to add some shine to the page. I also used it on top of the wood letters, though it's hard to tell from the photo.


To embellish the page, I used some very old embellishments from my stash (Dear Lizzy) along with some bits and pieces from the Canyonlands scrapbook kit and Redstone embellishment kit from Studio Calico.

And that's all I've made so far from the workshop. I have a page in the works inspired by the January content, so be on the lookout for that soon. :)

Wednesday, January 27, 2016

Wednesday Digi

Hello there and happy Wednesday! I have quite a few digi pages to share today! This past weekend I have successfully finished my 2015 Project Life album, and after that accomplishment I've been getting a few digital pages done. Feels good!
All these pages use items that are 50% off in the sale at The Lilypad, through today.


Credits:
Poppy Templates and Stated by Sara Gleason
Plastic Alpha by Paula Kesserling

That is a fun alpha indeed.


Credits:

Poppy Templates by Sara Gleason
1994 Paper Pack and Messy Marvin Words by Amy Wolff
Plastic Alpha by Paula Kesserling


As I mentioned, I had surgery a couple weeks ago. Everything went well, and I am now scrapping that experience (of course I took photos in the hospital, for my scrapbook! :)).


Credits:

Go 4 It! by Lynne-Marie


I love the pops of red on this page.


Credits:

Go 4 It! by Lynne-Marie
Stated by Sara Gleason


ETA: I made one more page using products by Allison Pennington, some of which are 50% off today! Here it is:


Credits:
For the Love of 2016: Bundle 1 by Allison Pennington


I hope you are having  a good week! I have fallen off my blog schedule as of late, but I do have a couple of exciting things I want to post (I've discovered foiling... I love it!!) so look for that soon.

Friday, January 22, 2016

Ridiculous

I had fun with the latest kit by creashens, which is out today and 20% off! For a limited time, you also get a free set of acrylic frames if you purchase the kit.


Credits:
Ridiculous kit and Ridiculous Frames by creashens


My husband always complains when I ask him to be in a photo, but this time the joke's on him because I decided to use this photo of him making fun of me. :) The theme of this pretty kit was just perfect for this story! :)
Have a great weekend!

Friday, January 15, 2016

What I've Been Up To

I am home recovering from a small surgery, and spending most of my time in bed. I have been catching up on my 2015 Project Life (printing photos from my bed is really quite efficient!) and getting up only for short periods of time. In one of my breaks from bed rest, I put together one more page using the Canyonlands scrapbook kit from Studio Calico.


I am also thrilled because I received my Mega Date Stamp this week and put it to good use on this page. I love it and highly recommend it!


Have a great weekend!

Wednesday, January 13, 2016

Pretty Snow

Hello and happy Wednesday! Today I have a page to share that I made with some of the products that are 50% off in the Something Old, Something New sale today at The Lilypad.


Credits:


I love snow!

Tuesday, January 12, 2016

So Very Ready

The Eloquent Eloise kit by creashens is 50% off today, and I thought it was perfect to make this page:


Credits:
Eloquent Eloise kit by creashens


Making this page was great scrap motivation for me - I had (my very 1st ever) surgery yesterday (all went well.. I am home recovering now) and I really needed to focus on the positive. I'm ready to get better, and hopefully this is the first big step in that direction!

Friday, January 8, 2016

Traveler's Notebook

As promised yesterday, I wanted to show you a bit more of what I am doing in my Traveler's Notebooks.


So far I've only been using the little passport-sized one for note taking on the go, but I started playing a bit more in the larger, red one.


The red one is to big to carry around for me, but it is perfect to use at home with my stamps.

I started by making a log for my exercise, which is one of my 2016 resolutions.


{Stamps by Studio Calico, mostly from past Documenter kits}
I find that having a visual reminder/motivation works well for me, and I am happy each day to check off my workout. Hoping this lasts!


I'm also really excited to be using the Mega Date Stamp in my notebook! This stamp is back in stock but is selling fast (and likely won't be restocked), so if you're thinking about it, don't wait too long!

Thursday, January 7, 2016

New Workshops at Studio Calico

Did you see the new workshops that will provide monthly inspiration for the Scrapbook and Documenter kits at Studio Calico?

I wanted to check out what the workshops were about, and I started with the scrapbooking one. This month's workshop is taught by Paige Evans. I was really inspired by her main kit only lesson, which is based on a loose grid, and I used this technique for my page. Alas, I don't have the Arendal kit, so I used the November one (Canyonlands) instead.


There are three lessons in each workshop, and each lesson comes with a video - I love it! It's just the right amount of inspiration to look at your supplies in a fresh way.
I love how my page turned out! I picked all blue and green elements from the kit, laid them out, and that was it. Easy page but I love the result!


After five months strong (June-October), I slacked in my Kill My SC Kit series. Alas, I am not giving up, in fact I resumed using my Canyonlands scrapbooking kit now that December Daily is over and done with. :) Only 3 pages done so far, so I've got a ways to go.
Kill my Studio Calico kit is a monthly series I started on my blog to hold myself accountable and use up my kits. My goal is to use up a kit before the next one arrives.
You can subscribe to the Studio Calico Scrapbook kit here.

Oh... and I almost forgot to mention the best thing - if you are a subscriber to either the Scrapbook or the Documenter kit, you can sign up to the corresponding workshop for the month of January for free!

Wednesday, January 6, 2016

Hello Cold Days

It's been really cold here the past few days!
Today is the day for the weekly Something Old, Something New sale at The Lilypad - 50% off select products, through today. Here's what I made with some of the products on sale:


Credits:


If you haven't yet, it's not too late to join the Month of Challenges at The Lilypad!


Lots of inspiration and great prizes!

Monday, January 4, 2016

DIY Double-Sided Leather Traveler's Notebook Cover

Today I want to share a little DIY project I made last month - a double-sided leather traveler's notebook.


I am not going to post a step-by-step tutorial because in fact I followed the instructions by the excellent Christine, with just a small change -  rather than a regular size traveler's notebook, I decided to make a passport-sized one. This is my first traveler notebook and I made it with the purpose of carrying it in my bag when I go to work meetings, and I wanted something more compact. The bonus is that from 2 sheets of letter-sized leather I was able to make 2 notebooks, one for me and one for my mom. :)

Now... I'm not gonna lie - it took forever to put together (mainly because I didn't have the right tools to thread the elastic!), but it was worth it - I love how it turned out!


The notebook is double sided, and even though when I bought the leather (these are pretty much the entire color option at Michaels) I thought I'd be using the aqua for the outside, I ended up falling in love with the texture of the brown leather and chose that instead. :)
I have two notebooks in my journal.


The notebook on the left was made by me, while the one on the right is a Midori passport - I bought it after the fact, and it turns out that the notebook I made is spot on!
I used yellow copy paper for the notebook made by me and I love the pop of color!


I chose not to bind the notebook and it's really quite freeing to know I can just get rid of a page if I mess up.


Here's a closeup of the stitching, which I did with my sewing machine but turning the wheel by hand (I didn't trust my sewing skills for this project!):


The stitching holds the two pieces of leather together pretty well (in fact the only change I would make in Christine's instructions is to skip the fabric interfacing step - I found it didn't really stick properly in my case).
The pretty charm was given to me by my mom a few years ago and is by Thun.


This passport size has been working really well for me, and it made me take the plunge and purchase a full sized traveler's notebook as well - I would love to try my hand at scrapbooking in that size, so stay tuned... ;)

Sunday, January 3, 2016

Sketch Your World


I am so excited for the new class at Studio Calico: Sketch Your World! It starts Feb. 1st.
Here's the description:
Expand your creativity! Olya Schmidt takes you on a creative journey filled with practical tips and simple techniques that will help develop your drawing and watercolor skills. Olya will introduce you to the various tools and materials needed to start sketching different scenes and bringing them to life with watercolor paint. You’ll also learn plenty of basic exercises to get you more comfortable using pencils, pens, and brushes to capture the world as you see it!

A few years ago I took an online art class that I absolutely loved - it was my first attempt at drawing and watercoloring. At the time, I made a couple things I was really proud of, but didn't do much at all after the class was over. Here they are:


I am really excited to get back to drawing and painting with the Sketch Your World class! This is just the push I need to play with colors again! And Olya is such a talented artist!

Over the years, I have amassed some favorite watercolor supplies, including Neocolors IIPeerless watercolors (currently sold out at Studio Calico but you can find them on Amazon too) and Kuretake Gansai Tambi. I don't own this little travel-sized Koi set, but I just might have to try it out! :)

Neocolor IIKuretake Gansai TambiPeerlessKoi watercolors

I hope to see you in class!